


close
Choose Your Site
Global
Social Media
Views: 0 Author: Site Editor Publish Time: 2026-11-20 Origin: Site


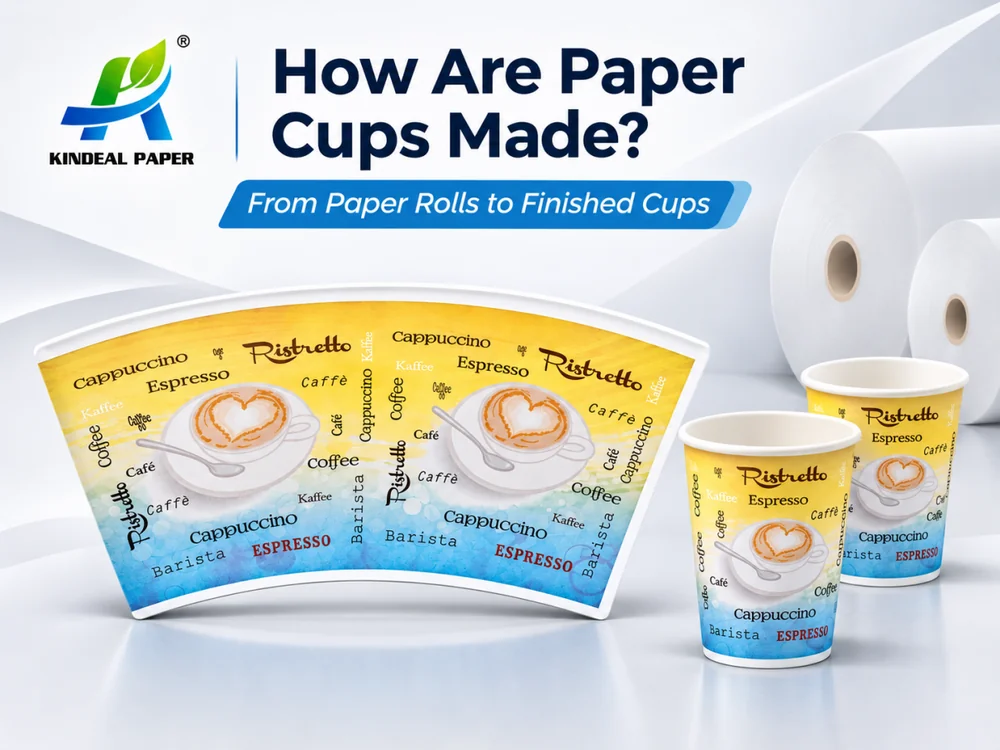
Paper cups are made by converting coated paper rolls into fan-shaped sidewall blanks and circular bottom pieces. These components are then formed, sealed and rim-curled using a paper cup forming machine. The finished cups undergo quality inspection before stacking and packaging.
Although the basic paper cup manufacturing process is similar across factories, not every manufacturer starts with paper rolls. Some purchase pre-printed and die-cut cup blanks, allowing them to begin directly with cup forming.
A standard single-wall paper cup consists of three main elements:
Cup sidewall: A fan-shaped paper blank that forms the tapered cup body.
Cup bottom: A circular paper piece that is joined and sealed to the sidewall.
Barrier coating: A thin layer, commonly made of PE or PLA, that helps prevent liquid penetration and enables heat sealing.
The manufacturing process can be divided into two stages:
Manufacturing Stage | Main Operations | Output |
Paper converting | Coating, printing, die-cutting and slitting | Cup fans and bottom rolls |
Cup forming | Sidewall forming, bottom punching, sealing and rim curling | Finished paper cups |
The sidewall and bottom materials are prepared separately before being combined in the cup forming machine.
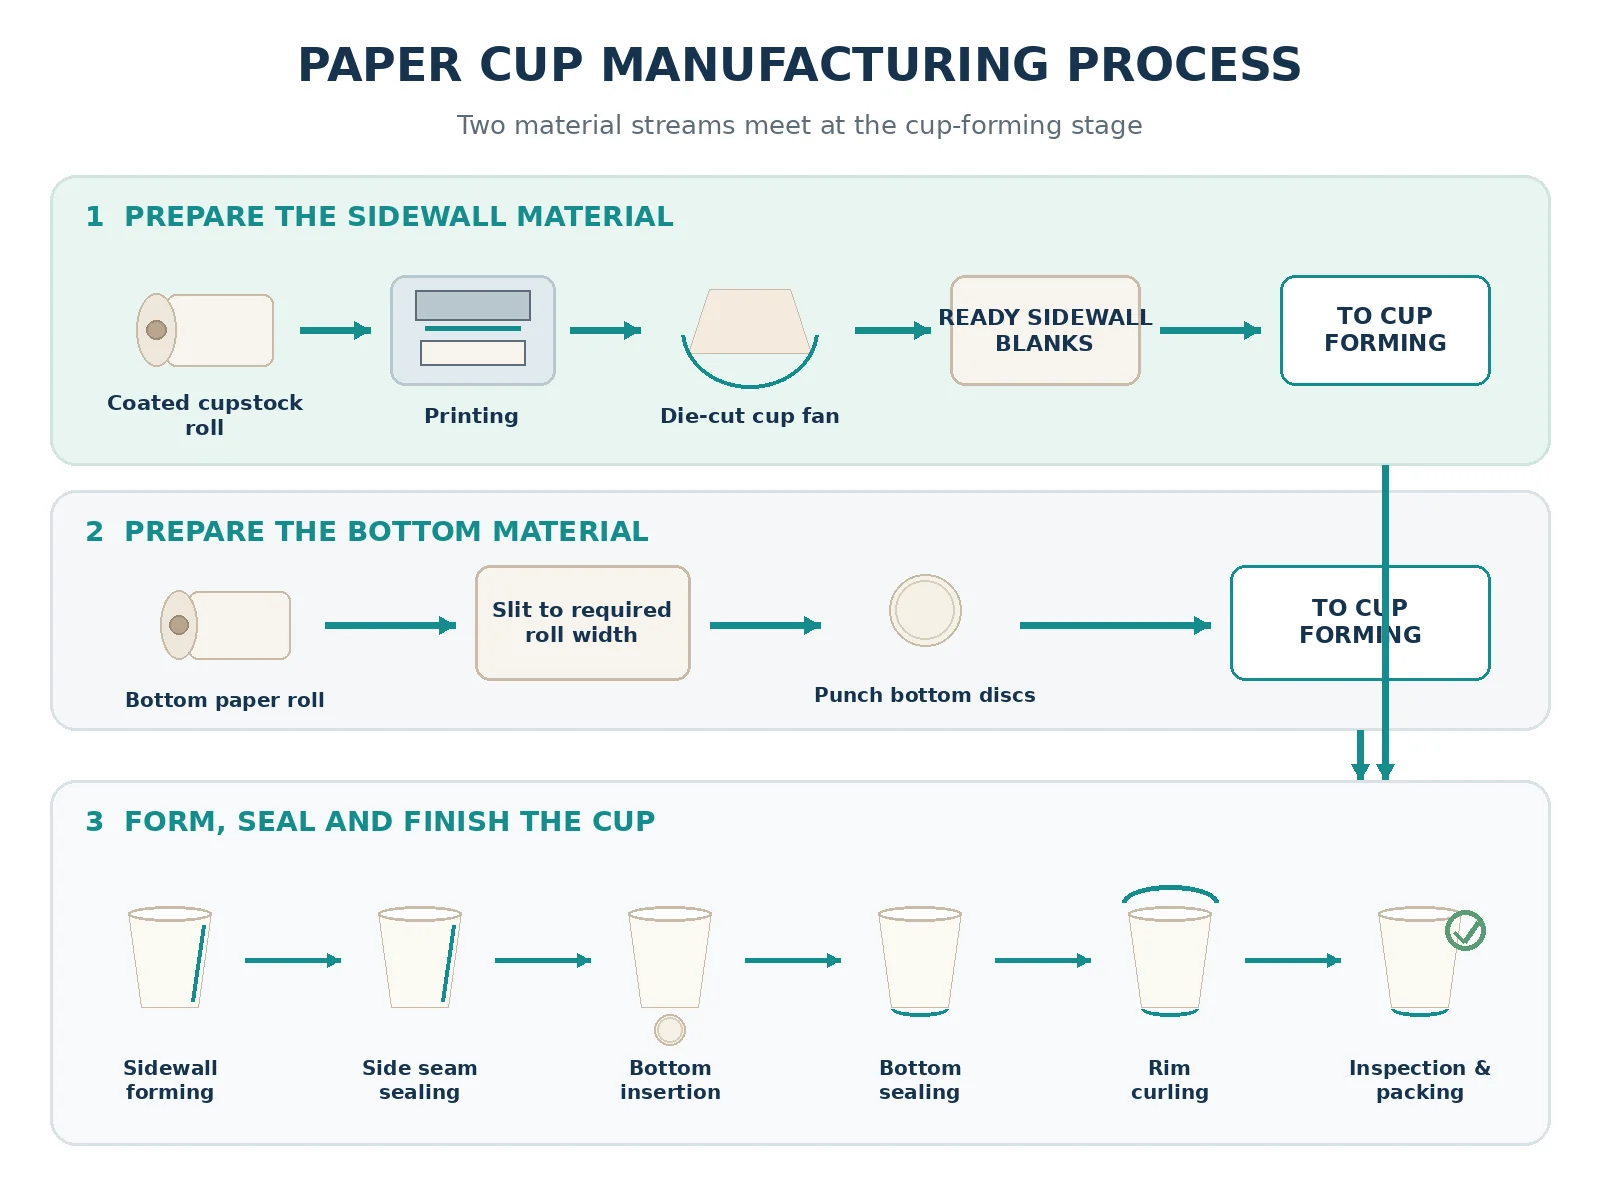
Paper cup production begins with cupstock paper, which provides the stiffness and structural strength required to form and hold the cup shape.
Since untreated paper absorbs liquids, cupstock is typically coated with a barrier material before further processing.
Single-side coated paper: Commonly used for hot beverage cups, with the coating facing the liquid.
Double-side coated paper: Commonly used for cold beverage cups, where the outer coating also helps protect the paper from condensation.
Factories purchasing pre-coated cupstock rolls can proceed directly to printing or cutting without carrying out the coating process themselves.
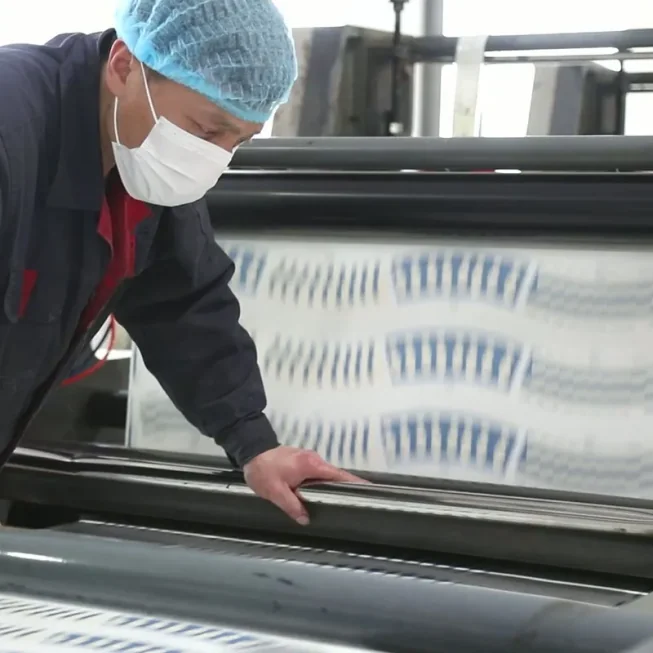
Logos, graphics and decorative patterns are printed onto the surface that will become the outside of the cup. Printing takes place while the paper is still flat, allowing accurate registration and consistent image placement.
Flexographic printing and offset printing are commonly used for paper cup materials. The printed layout must correspond to the cup blank dimensions, ensuring that the design appears in the correct position after forming. Plain, unprinted paper cups can skip this step.
The choice between flexographic and offset printing depends on the design, print requirements and production volume. Learn more in our guide to Flexo vs. Offset Printing for Paper Cup Fans
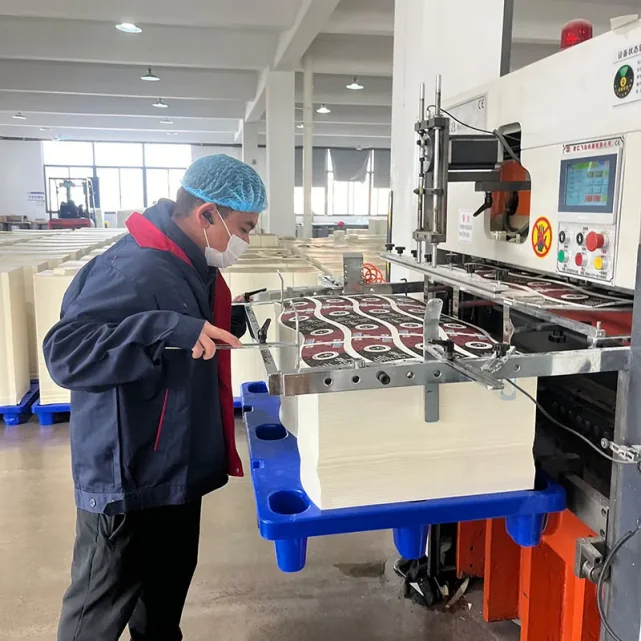
The printed paper is die-cut into individual fan-shaped blanks, while the bottom paper is slit into narrower rolls.
These two components serve different purposes:
Component | Preparation Method | Function |
Paper cup fan | Die-cutting into fan-shaped blanks | Forms the tapered sidewall |
Paper cup bottom roll | Slitting into the required roll width | Supplies material for bottom punching |
The curved edges of the cup fan correspond to the upper and lower circumferences of the finished cup. Its straight edges include the overlap required to create the side seam.
The bottom roll remains in continuous roll form until it enters the cup forming machine.
A paper cup forming machine feeds individual cup fans onto a tapered forming mandrel. Each blank wraps around the mandrel, bringing its straight edges together with a controlled overlap.
The overlapping edges are sealed using a method compatible with the paper coating and machine design, such as hot-air or ultrasonic sealing.
This operation converts the flat paper fan into a tapered cup body. A consistent overlap and secure side seam are essential to maintaining the cup shape and preventing leakage.
The bottom paper roll is fed separately into the forming machine and converted into individual bottom pieces.
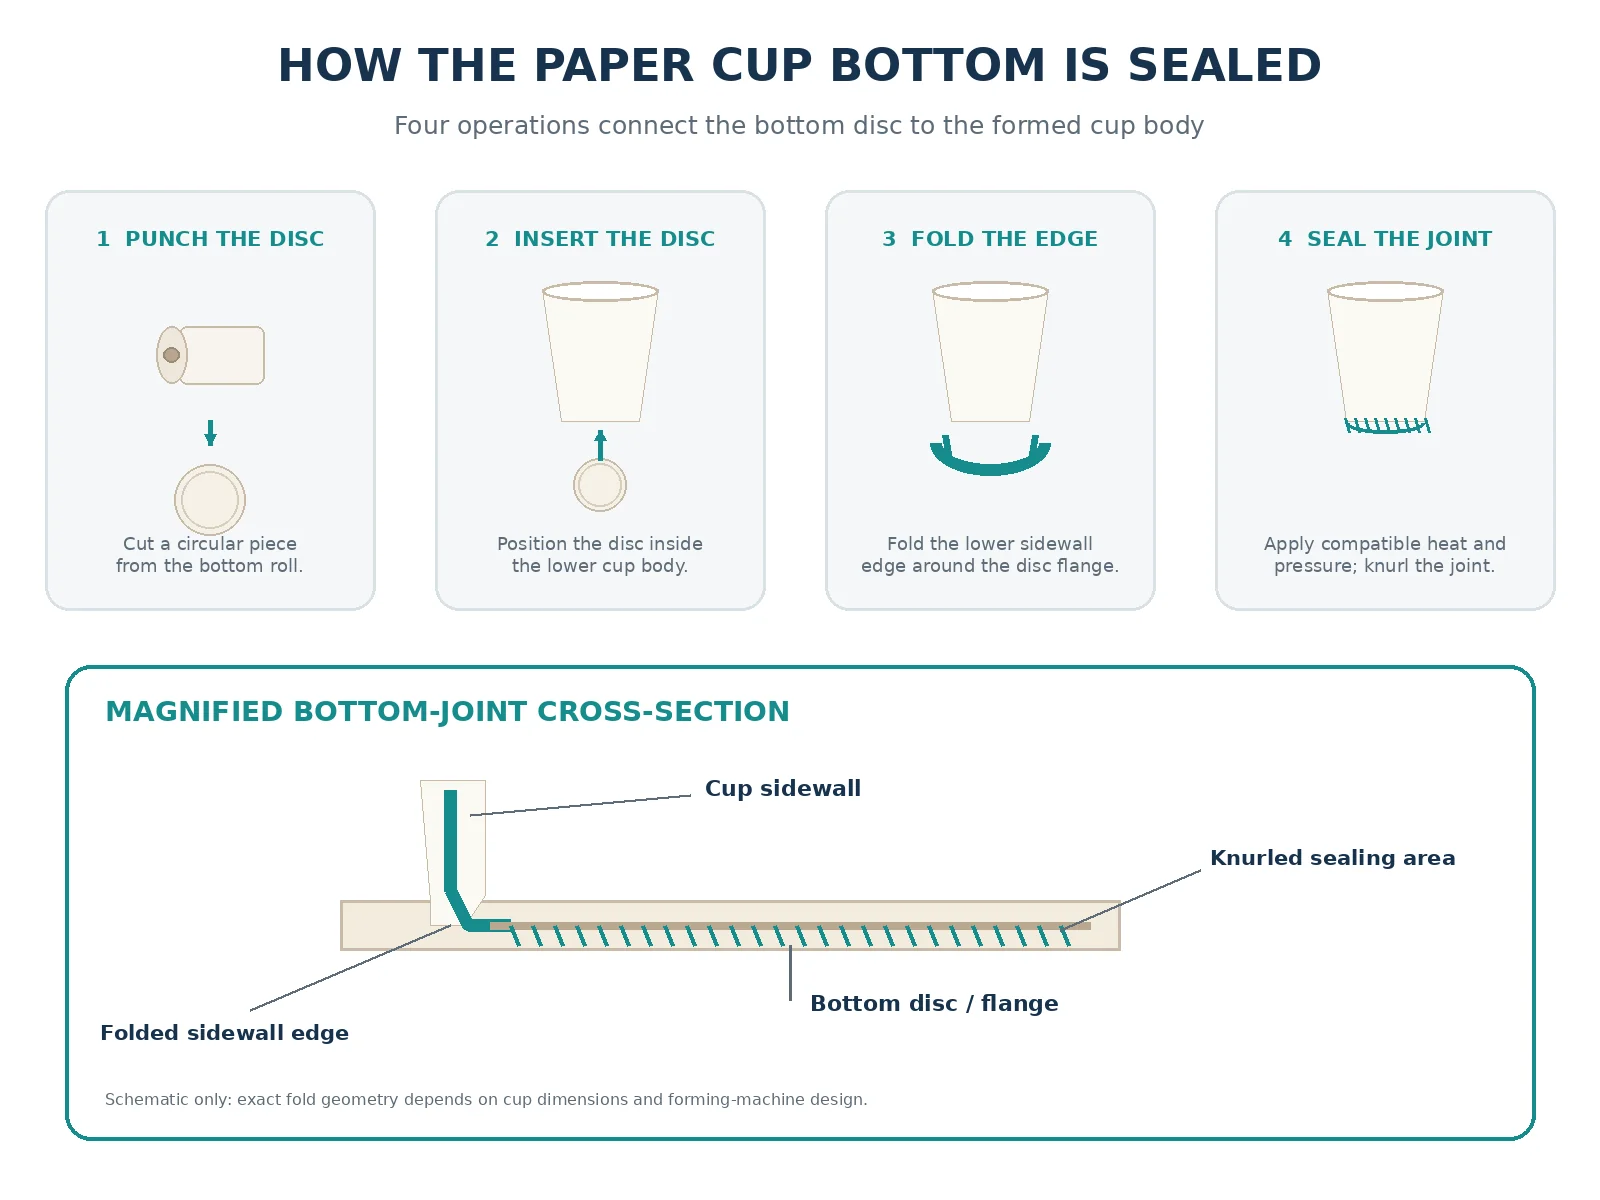
The bottom assembly generally involves four operations:
Punching: Cutting a circular bottom piece from the continuous paper roll.
Inserting: Positioning the bottom piece inside the lower end of the cup body.
Folding: Folding the lower sidewall edge around the bottom flange.
Sealing: Applying heat and pressure, followed by knurling, to secure the bottom joint.
The resulting joint connects the sidewall and bottom into a liquid-holding container.
After the bottom is secured, the upper edge of the cup is rolled outward to form a rounded rim.
Rim curling serves three purposes:
Creates a smooth drinking edge.
Increases rigidity around the cup opening.
Provides a consistent fitting surface for compatible cup lids.
The finished rim should be continuous and uniform, without cracks, exposed rough edges or excessive deformation.
Finished paper cups are inspected before they are stacked and packaged. Quality control typically covers both structural performance and visual appearance.
Inspection Item | What Is Checked |
Cup dimensions | Height, top diameter and bottom diameter |
Side seam | Sealing integrity and overlap consistency |
Bottom joint | Leakage and sealing defects |
Rim | Curling uniformity and surface damage |
Appearance | Printing alignment, stains and deformation |
Leakage tests are performed according to the applicable product specifications and quality control procedures. Accepted cups are counted, stacked and packed for storage or shipment.
No. The starting point depends on which converting operations the manufacturer performs in-house or outsources.
Comparison Item | Starting with Coated Paper Rolls | Starting with Ready-to-Form Materials |
Purchased materials | Coated cupstock rolls | Cup fans and bottom rolls |
Printing | Required for printed cups | Already completed for printed fans |
Sidewall die-cutting | Required | Already completed |
Bottom roll slitting | Required if not pre-slit | Already completed |
Cup forming | Required | Required |
Manufacturers with printing, die-cutting and slitting capabilities can purchase coated paper rolls and control more of the converting process.
Factories equipped primarily with paper cup forming machines can purchase ready-to-form cup fans and matching bottom rolls, reducing the need for separate converting equipment.
Double-wall paper cups require an additional paper layer outside the original cup body to improve thermal insulation.
The inner cup is manufactured using the standard forming process. An outer paper wall is then formed and attached around it.
It is important to distinguish three configurations:
Double-wall cup: An additional paper wall is attached to the inner cup, providing extra insulation.
Ripple-wall cup: A corrugated outer layer creates insulating air spaces and a textured gripping surface.
Separate cup sleeve: A removable accessory placed around an already finished paper cup.
Unlike a PE or PLA barrier coating, these additional paper layers primarily provide thermal insulation and handling comfort.
Kindeal supplies paper cup materials at different stages of the manufacturing process, supporting manufacturers with both paper converting and cup forming requirements.
Product | Position in the Manufacturing Process |
Paper rolls for subsequent converting operations | |
Printed and die-cut sidewall blanks for cup forming | |
Bottom paper for punching and sealing | |
Materials for external sleeves and insulated cup configurations |
For material sourcing, provide us with your finished cup dimensions, coating requirements, printing design and forming machine specifications to obtain materials matched to your production process.
Yes. Heat-sealable coated cupstock can be joined using compatible hot-air or ultrasonic sealing systems without applying a separate adhesive to the side seam.
Generally, no. Cup fans must match the cup height, top and bottom diameters, seam overlap and forming mold dimensions. Even cups with the same nominal capacity may require different blank dimensions.
Not automatically. Compatibility depends on the machine's heating and sealing systems. PLA-coated paper may require different processing settings or equipment configurations from PE-coated paper.


